
A Tailor's Secrets: Mending, Hemming and Simple Alterations at Home
 By Dorina Benvin & family·August 25, 2026·5 min read
In our family, a torn seam never meant a lost garment. It meant a quiet evening with Mom, a pincushion on her wrist and the good scissors that nobody else was allowed to touch. Nonna Do is a skilled tailor and seamstress, and she has saved more trousers, school uniforms and favorite dresses than any of us could count. Her philosophy is simple: clothes that fit well and are cared for last for years, and a few basic skills can make that happen at your own kitchen table. Here are her essentials, polako (slowly, as they say in Croatian) and step by step.
Build a Proper Sewing Kit
You don’t need much, but what you have should be good.
- Fabric shears (8–9 inch), used only for fabric, never paper, which dulls them fast
- Small snips for trimming threads
- Hand needles: an assorted pack of sharps for general sewing and betweens (shorter) for fine hemming
- All-purpose polyester thread in black, white, navy, grey and beige, plus cotton thread for natural fabrics
- Glass-head pins (they won’t melt under the iron)
- Seam ripper, the tailor’s best friend
- Tape measure and a seam gauge (a small ruler with a sliding marker)
- Tailor’s chalk or a washable fabric marker
- Thimble, which saves your fingertips on thick fabric
- Iron and pressing cloth: a clean cotton cloth that protects fabric from shine
Nonna’s Tip: Buy thread one shade darker than your fabric if you can’t find an exact match. Lighter thread shows; slightly darker thread disappears into the shadow of the fabric.
The Invisible Blind Hem
A blind hem is what you see on good trousers and skirts: nothing at all from the outside.
Measure and mark
- Put the garment on with the shoes you’ll wear with it. Have a helper fold the hem under and pin it at the right length. For trousers, the front usually just touches the top of the shoe with a slight break.
- Take it off and mark the new hemline with chalk all the way around.
- Measure a hem allowance below that line (about 1½ inches for trousers, 1½–2 inches for skirts) and trim the excess.
- Finish the raw edge with a zigzag stitch, or fold it under ¼ inch and press, so it won’t fray.
- Fold along your hemline, press firmly and pin.
Sew the blind hem stitch
- Thread a single strand (no longer than your arm, so it won’t tangle) and knot the end.
- Hide the knot inside the hem fold.
- Fold the hem allowance back slightly so you see about ⅛ inch of its edge.
- With the needle, pick up just one or two threads of the garment fabric.
- Move about ¼ to ½ inch along and take a small stitch through the edge of the hem allowance.
- Repeat, keeping the thread relaxed. Pulling tight creates little dimples on the right side.
- Finish with two small backstitches inside the hem and a knot. Press from the inside through a pressing cloth.
“Good things take time — especially soups.” — Nonna Do
The same goes for hems. Rush it, and everyone can see.
Taking In a Waist
If trousers fit everywhere except a gaping waist, the fix is usually at the center back seam. Most tailored trousers are made with extra seam allowance there for exactly this reason.
- Put the trousers on inside out and pinch the excess at the center back. Pin it. Most home alterations work well for up to about 1½ inches total.
- Take them off and remove the belt loop at the center back with a seam ripper.
- Open the waistband seam a few inches on either side of center back.
- Chalk a new seam line that starts at the waistband and tapers smoothly back into the original seam over 4–6 inches. A sudden angle creates a pucker.
- Sew the new line (by machine, or with a small backstitch by hand), taking the waistband through the same adjustment.
- Try them on before trimming anything. Then press the seam open, reattach the belt loop and close the waistband.
For skirts and dresses without a center back seam, take in the side seams evenly instead, half of the total on each side.
Buttons That Stay On: The Thread Shank
Buttons fall off because they’re sewn flat and tight. A thread shank gives the buttonhole room to sit underneath and takes the strain off the stitches.
- Use doubled thread (or buttonhole thread for coats) and knot the end.
- Come up from the back where the button goes.
- Lay a toothpick or matchstick across the top of the button, between the holes.
- Sew over the toothpick through the holes 6–8 times for a shirt, 8–10 for a coat.
- Remove the toothpick. Lift the button so the loose stitches stand up underneath it.
- Bring the needle out between the button and fabric and wrap the thread tightly around those stitches 5–6 times. That’s your shank.
- Push the needle to the back, make several small stitches and knot securely.
For coats, sew a small flat “stay button” on the inside directly behind the main button to protect the fabric.
Darning: Mending Holes the Old Way
Darning weaves new fabric into a hole, so it’s perfect for socks and knit sweaters.
- Slip a darning egg or mushroom (a smooth, rounded tool; a tennis ball works in a pinch) under the hole.
- Use wool or cotton darning thread that matches the garment’s weight.
- Starting ¼–½ inch beyond the hole in sound fabric, sew parallel vertical running stitches across the hole, like the strings of a harp.
- Turn and weave horizontally, going over one thread and under the next, alternating on each row.
- Keep it relaxed so it lies flat. Weave the ends into the back and trim.
Catch thin spots before they become holes and a darn will be nearly invisible.
Fabric Care That Makes Clothes Last
| Fabric | Wash | Press |
|---|---|---|
| Cotton | Warm, normal | Hot iron, slightly damp |
| Linen | Cool to warm, gentle | Hot, while damp |
| Wool | Hand wash cold or dry clean | Steam through a pressing cloth |
| Silk | Hand wash cold | Low heat, inside out |
| Polyester | Warm | Low to medium |
Always check the care label first. And remember a tailor’s rule: press, don’t iron. Lift and lower the iron instead of sliding it, so seams and hems stay crisp without stretching.
When to Go to a Tailor
Mom is the first to say some jobs belong to a professional:
- Shortening jacket sleeves with working buttonholes
- Anything involving shoulders or a structured lining
- Leather, suede and heavy outerwear
- Wedding gowns, formalwear and beaded fabrics
- Letting out garments with little seam allowance left
Nonna’s Takeaway
Start with a good kit, go slowly, and press at every step. A blind hem, a tapered seam and a proper thread shank will make you feel like a real sarta (Italian for seamstress). For more handmade projects, visit our crafts page, and if you love working with your hands, try turning beach finds into seashell frames and keepsakes.
Keep exploring: Organizing your sewing supplies · How-to guides · About Nonna Do
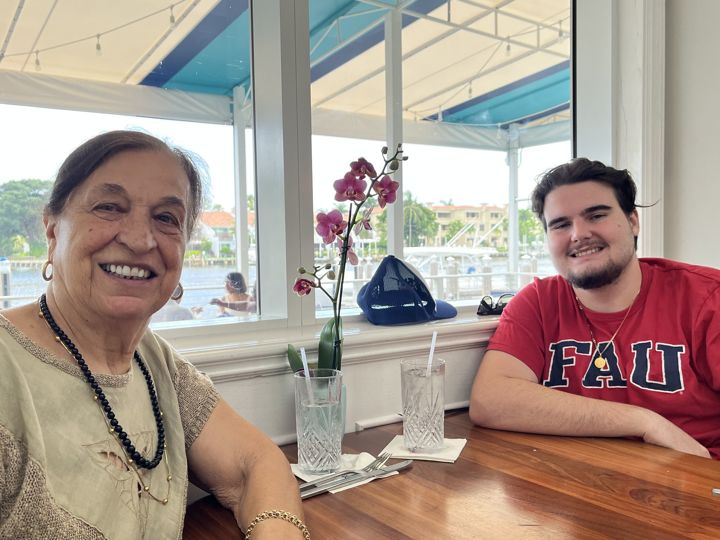
Mother, Nonna, orchid grower, cook, tailor and artisan — born in Belej on the island of Cres, Croatia. Written with love by her family, sharing the wisdom she gave us. Read her story →