Beachcombing & Seashell Crafts: Frames, Mirrors and Keepsakes
 By Dorina Benvin & family·August 18, 2026·6 min read
A beach walk with Mom is never just a walk. Somewhere between the waves and the conversation, she stops, bends down and holds up something small and perfect: a ridged scallop, a spiral no bigger than a fingernail, a piece of sea glass worn soft as a pebble. Nonna Do grew up on the island of Cres, where the Adriatic is the backdrop to everything, and she still walks a shoreline the way other people walk through a museum. Those treasures don’t sit in a jar for long. They become picture frames, mirrors and little keepsakes that turn up around the house and in the grandchildren’s rooms. Here is how to collect, clean and craft with shells the way she does: kindly, patiently and with an eye for design.
Collect With Care: Ethical Beachcombing
A shell is the empty home of a mollusk. Before it goes in your pocket, make sure it is truly empty and that taking it is allowed.
- Only take empty shells. Turn every shell over. If there is an animal inside (a snail, a clam, even a hermit crab that moved into someone else’s old home), gently put it back where you found it, in the water or damp sand.
- Never take live sand dollars, sea stars or urchins. A live sand dollar is brownish and covered in tiny moving spines. A bleached, white one is long gone and fine to keep where collecting is allowed.
- Check the local rules first. Many parks, marine reserves and protected beaches prohibit taking shells entirely, and some areas limit how many you can take. Look for signs or ask a ranger.
- Know the protected species. In Croatia, for example, the noble pen shell (Pinna nobilis, called periska locally) is strictly protected, so don’t touch or take one, even an empty one.
- Take a few, not a bucket. Empty shells still matter: they become homes for hermit crabs and add calcium back to the beach. Choose your favorites and leave the rest.
Nonna’s Tip: Carry a small mesh bag and a soft cloth on your walk. Wet sand drains through the mesh, and the cloth keeps fragile spirals from knocking against heavier shells.
Cleaning Shells: Soak, Scrub, Shine
Freshly collected shells can smell, hold sand and wear a dull outer skin. Go slowly; shells are calcium carbonate and can be damaged by harsh treatment.
- Freshwater soak. Soak shells in plain warm water for a day, changing the water once or twice. This loosens sand and salt.
- Scrub gently. Use an old soft toothbrush and a drop of dish soap. A wooden toothpick or dental pick clears grit from ridges and openings.
- Gentle bleach bath (optional). For stubborn stains or barnacle residue, mix about 1 part household bleach to 4 parts water. Soak for 15–30 minutes, checking often; longer soaks whiten shells but can fade natural color and remove the glossy outer layer. Wear gloves, work in a ventilated space, and never mix bleach with vinegar or ammonia.
- Rinse and dry. Rinse thoroughly in clean water and let shells air-dry on a towel for a full day.
- Bring back the shine. Rub on a thin coat of mineral oil (baby oil works too) with a soft cloth, let it soak in for an hour, then buff away the excess. The colors deepen as if they were still wet from the sea.
Avoid long vinegar soaks: vinegar is an acid and slowly dissolves the shell itself. For fragile sand dollars, whiten briefly in the diluted bleach, dry them completely, then brush on a mix of equal parts white school glue and water to harden them.
Supplies List
| Item | Why you need it |
|---|---|
| Plain wooden or smooth frame / round mirror | Your base; flat, wide borders work best |
| Clear industrial-strength craft adhesive | Permanent hold for heavier shells |
| Low-temp hot glue gun | Quick placement for light shells |
| Tweezers and toothpicks | Positioning tiny shells and cleaning glue strings |
| Painter’s tape | Protects glass and mirror surfaces |
| Fine sand, sea glass, small pearls | Filling gaps between shells |
| Clear matte or gloss sealer (spray or brush) | Protects the finished piece |
| Mineral oil and soft cloth | Final shine before sealing |
Step-by-Step: A Seashell Picture Frame
Mom’s favorite project, and the perfect home for a beach-day photo.
- Prepare the frame. Remove the glass and backing. Lightly sand a glossy frame so glue grips, then wipe away the dust.
- Sort your shells. Group them by size and color on a tray: large “anchor” shells, medium fillers, tiny accents.
- Dry-fit the design. Lay the shells on the frame without glue and move them around. Nonna usually places a cluster of larger shells in one or two corners rather than spreading them evenly; asymmetry looks natural, like the tide left them there.
- Glue the anchors first. Use craft adhesive for heavy or curved shells. Press, hold for 30 seconds, and let them set for at least an hour.
- Fill in. Add medium shells, then tiny ones, tucking them into gaps. Hot glue is handy here.
- Finish the gaps. Brush thin glue into any bare spots and sprinkle with fine sand, or press in sea glass or small pearls.
- Seal. Once everything has cured for 24 hours, apply a thin coat of clear sealer. Replace the glass and your photo.
A Shell Mirror for Your Entry
Mirrors bounce light around a room, and shells soften the edges beautifully.
- Tape off the glass with painter’s tape, leaving only the frame exposed.
- Work in a ring. Start with a continuous row of similar shells (small scallops or cowries) around the inner edge, then build outward.
- Keep weight in mind. A heavy mirror needs a sturdy hanger rated for the finished weight, and heavier shells should sit toward the bottom.
- Peel the tape once the glue has fully cured, and clean the glass with a soft cloth.
Small Keepsakes and Ornaments
Not every shell needs a big project. A few simple ideas:
- Christmas ornaments: Glue a small loop of ribbon to the back of a scallop and paint the recipient’s name and the year in fine gold paint pen.
- Filled glass baubles: Drop tiny shells and a spoonful of sand into a clear, fillable ornament.
- Place-card holders: A flat-bottomed clam shell holds a folded name card at the family table.
- Memory jars: Label each jar with the beach and the season it came from.
Displaying Your Collection
Shells look best when they have room to breathe. Try a shallow wooden tray on a coffee table, a glass cloche over a single perfect specimen, or a shadow box with shells arranged by color from white to deep coral. Group in odd numbers (three or five) and mix textures: smooth cowries beside rough oyster shells. For more ideas on bringing coastal calm indoors, see our post on Mediterranean interior design, and browse more handmade projects on our crafts page.
“The recipe is the guide—the flavor is your voice.” — Nonna Do
She says it about cooking, but it is just as true at the craft table. The steps above are the guide; which shells you choose and where you put them is your voice.
Nonna’s Takeaway
Collect only what the sea has already let go of, clean it gently, and build each piece slowly. A shell frame made from your own beach walks holds two memories at once: the photo inside, and the day you found every shell around it. If the island of Cres and the Kvarner coast have you dreaming of your own shoreline, the Lošinj tourist board at visitlosinj.hr is a lovely place to start.
Keep exploring: Our Lošinj heritage · Orchid-inspired art · Photos from the family
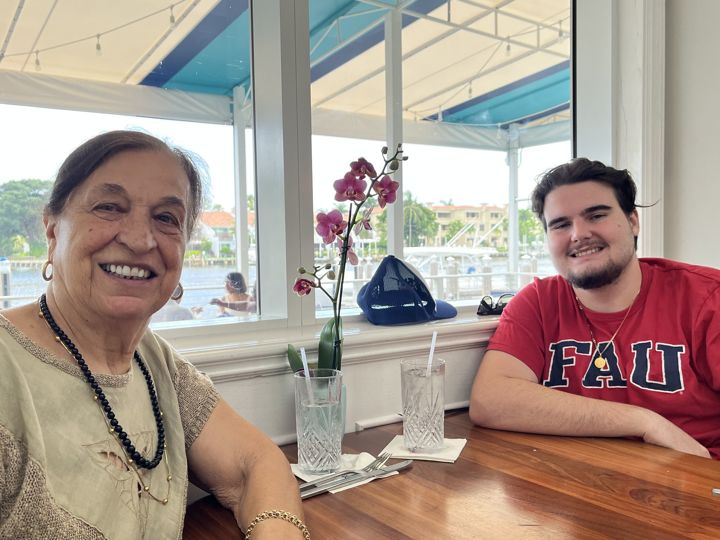
Mother, Nonna, orchid grower, cook, tailor and artisan — born in Belej on the island of Cres, Croatia. Written with love by her family, sharing the wisdom she gave us. Read her story →