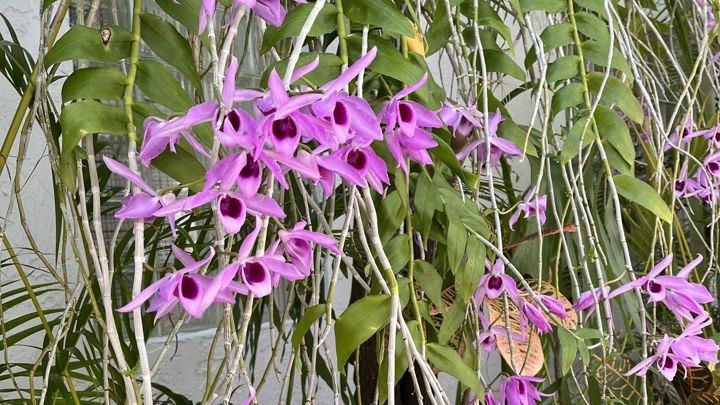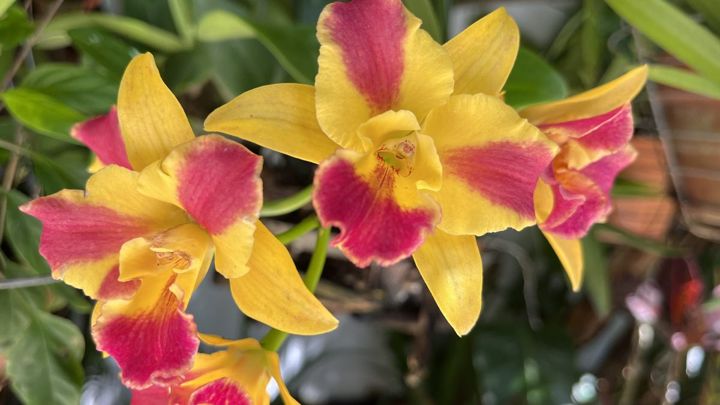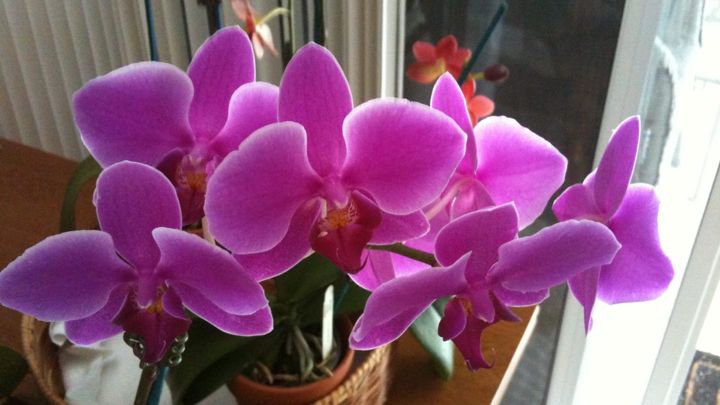
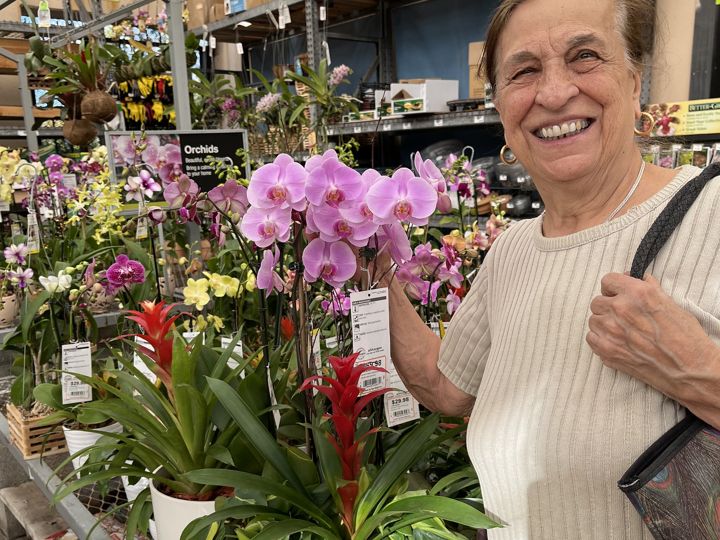
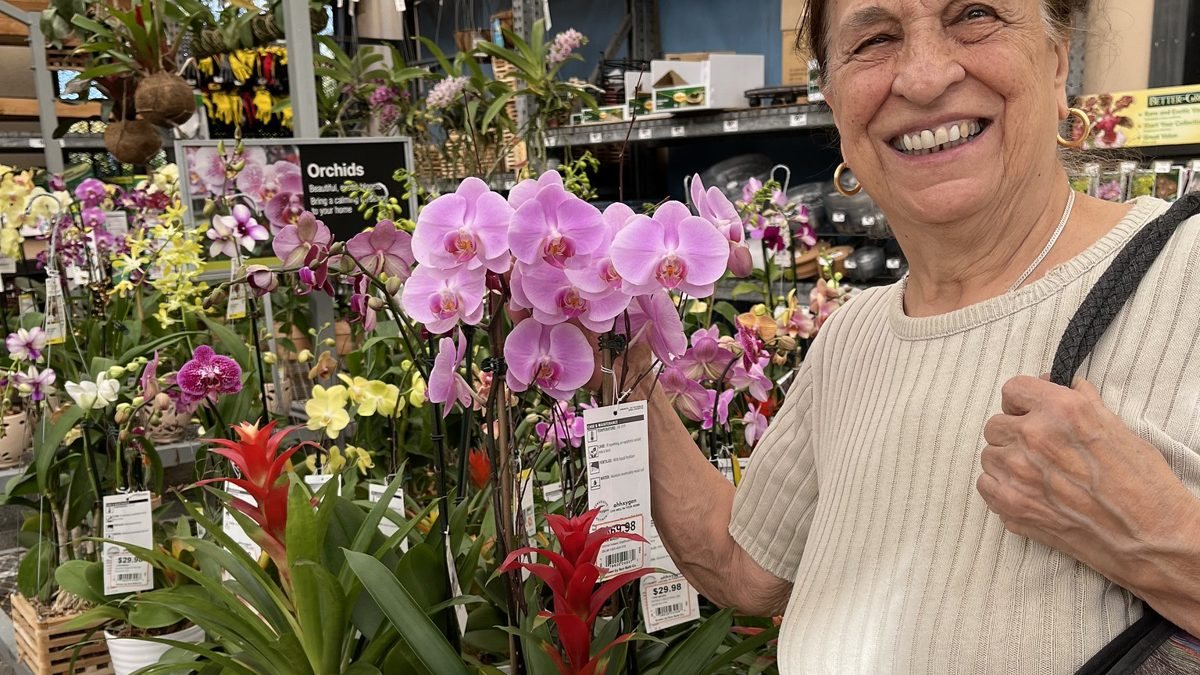
Mom has a way of walking into a garden center and heading straight for the orchids, the way some people head for the bakery case. One of our favorite family photos shows her doing exactly that: smiling beside a long bench of Phalaenopsis, clearly already deciding which one is coming home. Orchids have been her companions for most of her life, and her plants have gone on to star in award-winning displays. People assume that takes some secret gift. Nonna Do says it’s mostly paying attention. This post gathers the ten golden rules from her book, The Art of Orchids, so you can start your own collection with confidence.
Rule 1: Look Beyond the Flowers
Dorina’s first rule of buying an orchid is also her most important: blooms can deceive, but leaves and roots tell the truth. A plant can be in full flower while its roots rot in old, soggy moss. Here’s her checklist for choosing a healthy orchid at the garden center.
Nonna’s Garden-Center Checklist
- Roots: firm, plump and green or silvery, with rounded green tips. Walk away from brown, black, mushy or sour-smelling roots.
- The pot test: hold the base of the plant and gently squeeze the pot. A healthy orchid feels anchored. If it wobbles loosely, the roots may be dead.
- Leaves: medium green, firm, upright and smooth. Wrinkled or limp leaves mean the roots are struggling. Black spots can mean fungus. White fuzz means mealybugs, and a silvery, dusty look can mean spider mites.
- Buds: pick a plant with more buds than open flowers. It will keep blooming for weeks or months after you get it home.
- New growth: fresh root tips, a baby leaf in the crown, or a new pseudobulb. As Dorina puts it, “If it grows for you in the store, it will grow for you at home.”
- Pests: check under leaves, in the leaf joints and where the spike meets the plant.
- Potting medium: the bark should be firm and smell fresh, not compacted, moldy or sour.
Nonna’s Tip: “If the roots look good, everything else can be fixed.” When in doubt, choose the plant with the best roots, even if its flowers are less showy.
Rule 2: Know Which Orchid You Have
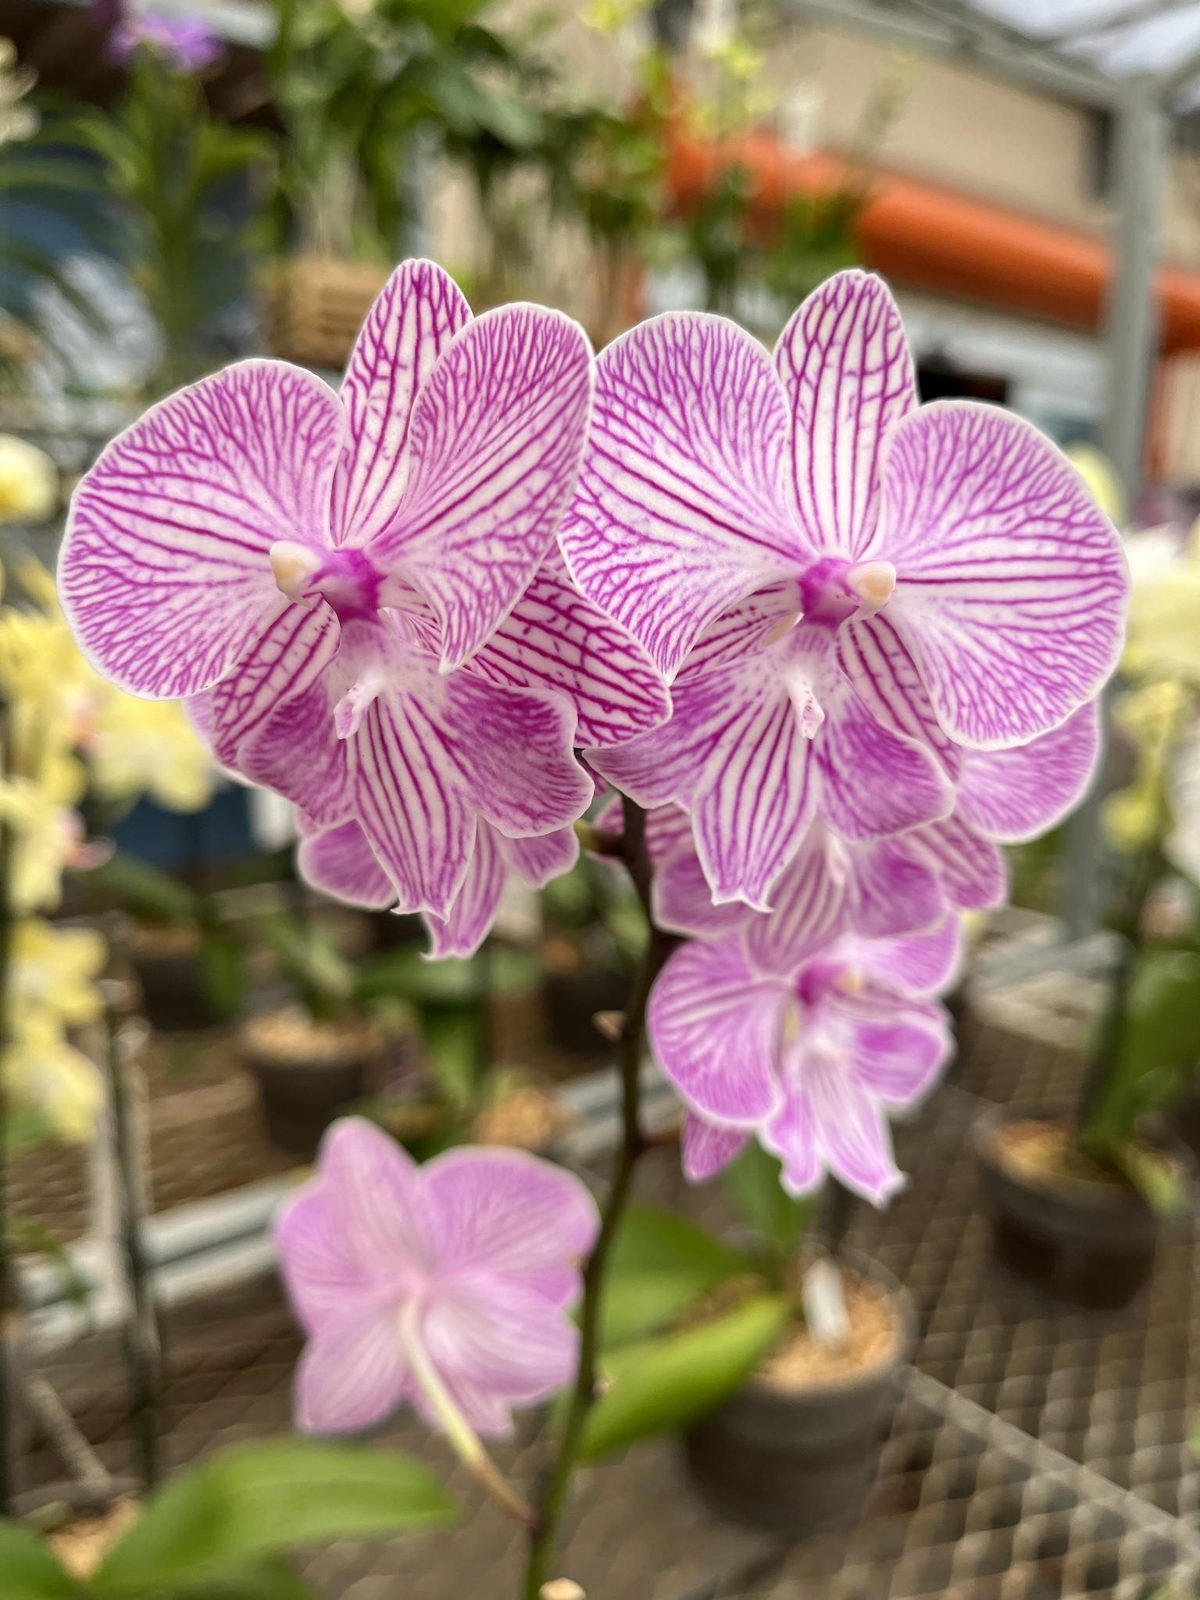
There are roughly 28,000 orchid species, and they don’t all want the same things. A Phalaenopsis (moth orchid) is happy on a bright windowsill, while a Cattleya wants much more light and a Vanda wants warmth, strong light and daily water. Read the plant tag and learn its name. If you’re not sure, our Orchid Types 101 guide walks through the most common kinds. For beginners Mom always recommends starting with a Phalaenopsis. It’s forgiving, blooms for months, and reblooms readily.
Rule 3: Give Bright, Indirect Light
Light is what makes an orchid bloom. For most home orchids, an east-facing window is ideal because the morning sun is gentle. A south or west window works if you soften the light with a sheer curtain. Lace is Dorina’s favorite.
Two simple ways to check your light:
- The shadow test: hold your hand about a foot above the leaves at midday. A soft, fuzzy shadow is perfect for Phalaenopsis. A crisp, sharp shadow is strong light, better for Cattleya and Dendrobium. No shadow at all means the light is too weak for blooms.
- Read the leaves: medium, apple-green leaves mean the light is right. Very dark green means too little light. Yellowish or reddish leaves mean too much.
“Green teaches you more than any manual,” Mom says.
Rule 4: Water by the Roots, Not the Calendar
Most orchids that die at home are killed by too much love, meaning too much water. Most popular orchids are epiphytes: in nature they cling to tree branches with their roots out in the air. Water when the plant tells you to:
- Roots have turned silvery-white (grown in a clear pot, you can see this at a glance).
- The pot feels light when you lift it.
- The bark is dry an inch or so down.
For a Phalaenopsis in bark, that usually works out to every 5–10 days, depending on your home. We go deeper in Watering Orchids: 7 Myths and the Truth.
Rule 5: Use the Dorina Method (and Skip the Ice Cubes)
Here is how Mom waters:
- Use room-temperature water, ideally rainwater, filtered or distilled water.
- Take the orchid to the sink.
- Water from above and let it run freely through the bark for about 30 seconds.
- Let the pot drain completely.
- Never leave it sitting in a saucer of water.
- Return it to its bright spot.
Water in the morning so everything dries before nightfall. And the ice cube trick? A tropical plant wants a thorough, room-temperature drink that also rinses out old fertilizer salts. “Ice belongs in cocktails, not orchids.”
Rule 6: Keep the Crown Dry
The crown is the center of a Phalaenopsis, where new leaves emerge. Water left sitting there can cause crown rot, which is often fatal. If water does collect there, dab it out with a paper towel or tilt the plant so it runs off.
Rule 7: Feed “Weakly, Weekly”
This old grower’s rhyme is Dorina’s feeding philosophy. Mix a balanced orchid fertilizer at one-quarter strength and use it with your regular watering during active growth. Once a month, water with plain water only to flush out salt buildup. Brown leaf tips and a white crust on the bark are signs of too much fertilizer.
“Feed like you’re offering a cup of tea, not a holiday feast.” — Nonna Do
Rule 8: Humidity and Fresh Air
Orchids love 45–65% humidity, more than most homes have in winter. Mom’s Mediterranean trick is a tray of pebbles and water beneath the pots, with the pots sitting on the pebbles, never in the water. Grouping plants together helps too. Good airflow matters just as much. Gentle air movement prevents fungal problems, so avoid stuffy corners. Keep plants away from heating vents and cold drafts.
Rule 9: Keep Temperatures Steady, With a Cool Night Drop
Phalaenopsis are comfortable at 65–80°F (18–27°C) during the day. In autumn, a few weeks of cooler nights, around 55–65°F (13–18°C), is the natural signal that triggers a new flower spike. Sudden shocks do the opposite. Drafts, hot radiators and even a nearby fruit bowl can cause bud blast, because ripening fruit gives off ethylene gas. “Buds fall when orchids feel unsafe,” Mom says. Our rebloom guide explains how to use that night-time drop.
Rule 10: Repot on the Orchid’s Schedule, and Be Patient
Orchid bark breaks down over time, so most orchids need fresh medium every one to two years. Repot after blooming, ideally when you see new green root tips, and never while the plant is in full flower. “Repot when the plant is ready to grow, not when you are ready to repot.”
Most of all, be patient. An orchid can look like it’s doing nothing for months while it builds roots and leaves, then surprise you with a spike. Mom calls that green nub “a promise.”
A Quick-Reference Summary
| Need | Phalaenopsis (moth orchid) basics |
|---|---|
| Light | Bright, indirect; east window ideal |
| Water | When roots turn silver, about every 5–10 days |
| Humidity | 45–65% |
| Temperature | 65–80°F days; cooler nights in autumn |
| Feeding | ¼-strength fertilizer weekly, flush monthly |
| Repotting | Every 1–2 years, after blooming |
For more depth, the American Orchid Society has excellent care sheets, and Wikipedia’s article on the orchid family is a fascinating read about how varied these plants are.
Nonna’s Takeaway
Dorina likes to say that you don’t own an orchid, you partner with it. Choose a healthy plant, give it gentle light, let its roots breathe, and feed it a little at a time. In Italian we call that pazienza and in Croatian strpljenje: patience. Your orchid will reward it with blooms.
Keep growing with us: Nonna’s Orchid Corner · Watering Myths and Truths · Family Photos

Mother, Nonna, orchid grower, cook, tailor and artisan — born in Belej on the island of Cres, Croatia. Written with love by her family, sharing the wisdom she gave us. Read her story →