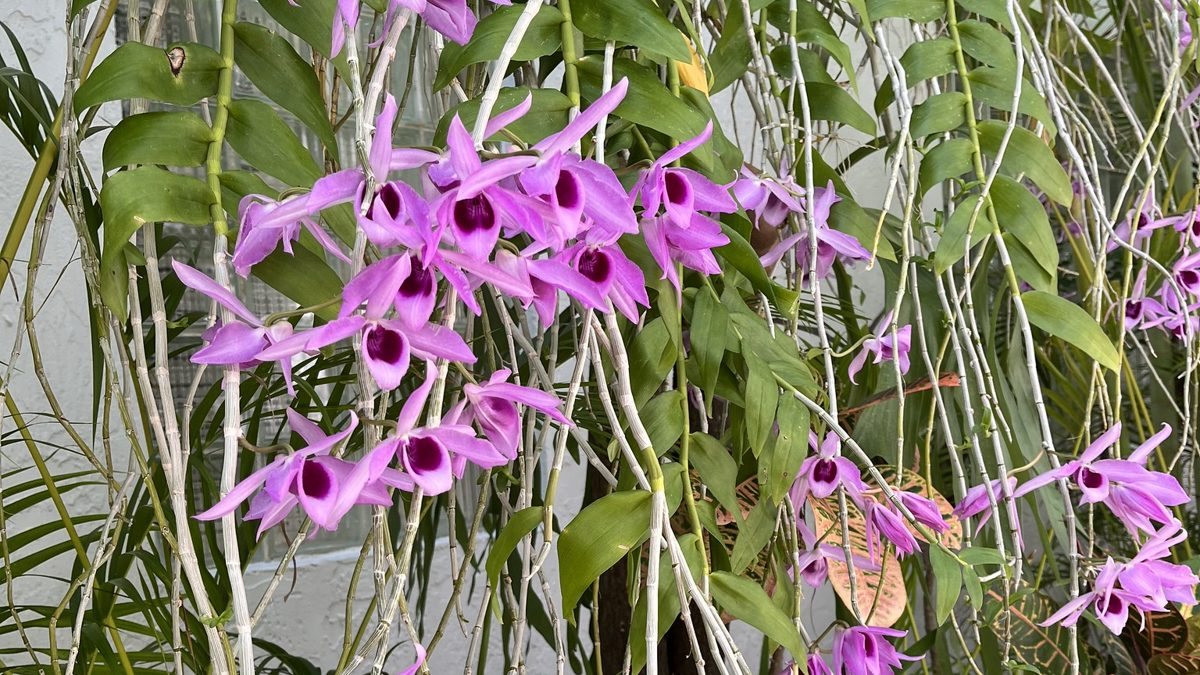
The last flower drops, and a bare green stem is left standing in the pot. Many people toss the plant at this point, assuming its show is over. In Nonna Do’s house, that moment is the start of the next chapter. Some of her orchids have bloomed for her year after year, and the method isn’t magic. It’s a handful of simple signals that tell an orchid, it’s safe to flower again. Here is the rebloom plan from The Art of Orchids, focused on the Phalaenopsis (moth orchid), which most of us have on the windowsill, with notes for other types.
Step 1: Decide What to Do With the Old Spike
When a Phalaenopsis finishes flowering, look at the spike (the flower stem):
- Brown and dry? Cut it off about an inch above the leaves. It won’t bloom again.
- Still green? You have two good choices: 1. Cut for a quick rebloom. Count up from the base of the spike to the second or third node, a small bump wrapped in a papery sheath. Cut about an inch above it with sterilized scissors. A side branch may form and bloom again within a couple of months, though the flowers are usually fewer and smaller. 2. Cut at the base for a stronger comeback. Cutting the whole spike lets the plant put its energy into new leaves and roots, and then a fuller spike next season. Mom always does this for young, small or tired plants, or any orchid with fewer than three or four healthy leaves.
Other orchids have their own rules. For Cattleyas, Oncidiums and Brassias, cut the finished flower stem near its base, because the next flowers come from new growths. For Dendrobiums, never cut the canes themselves. Nobile types and Dendrobium anosmum can flower again from older canes.
Nonna’s Tip: Sterilize your scissors with rubbing alcohol before every cut. It’s the simplest way to keep disease from traveling from one orchid to the next.
Step 2: Give It the Right Light
“Too little light, and orchids grow leaves but no flowers.” Poor light is the most common reason an orchid won’t rebloom. A Phalaenopsis wants bright, indirect light: an east window, or a south or west window behind a sheer curtain. Check the leaves:
- Medium, apple-green: just right
- Deep, dark green: not enough light to bloom, so move it closer to the window
- Yellowish or red-tinged: too much sun, so add a curtain
In winter, move plants closer to the glass and wipe the windows clean. If your home is dim, a full-spectrum LED grow light (about 4000–6500K) placed 12–18 inches above the leaves, on for about 12 hours a day, works beautifully. Mom’s reminder: “Orchids don’t fear light—they fear sudden light.” Change it gradually.
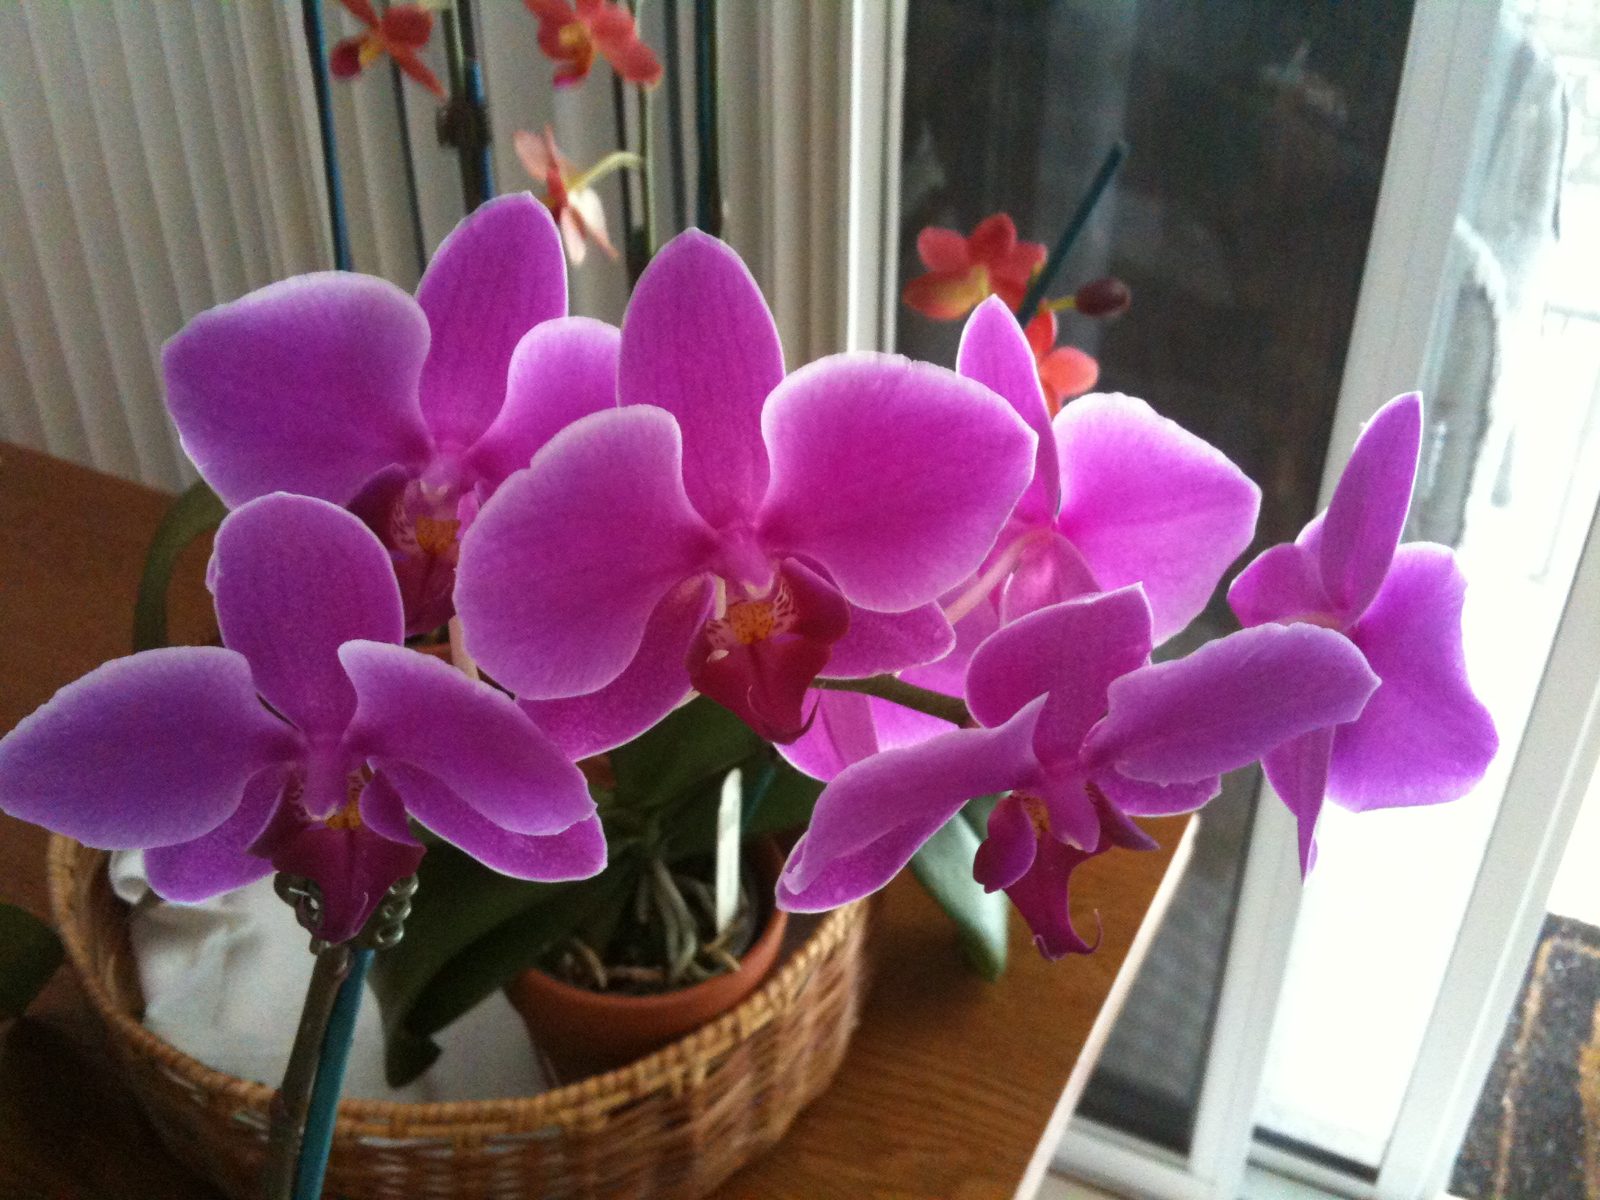
Step 3: The Night Temperature Drop
This is the step most people miss. In their native habitats, moth orchids start new flower spikes when autumn nights turn cooler. You can recreate that at home:
- For three to four weeks in early autumn, let nights fall to about 55–65°F (13–18°C), roughly 10–15°F cooler than daytime.
- Easy ways to do it: a spot near (not touching) a cool window, an unheated guest room, or simply turning the thermostat down at night.
- Keep it gentle. Avoid anything below about 55°F for Phalaenopsis, and keep leaves off cold glass and away from drafts.
In about a month or two, watch for a new spike. It looks like a flattened, mitten-shaped green tip growing out from between the lower leaves. A new root, by contrast, has a round, shiny tip. Mom calls that first nub “a promise.”
Other types have their own triggers. Cymbidiums want cold autumn nights of 45–55°F, often outdoors. Nobile Dendrobiums and D. anosmum need a cool, much drier winter rest. Cattleyas mostly need bright light and mature new growth.
Step 4: Follow Dorina’s Feeding Calendar
Mom’s feeding motto is “weakly, weekly”: a balanced orchid fertilizer at one-quarter strength, with a plain-water flush once a month to wash out salts.
| Season | What the orchid is doing | Dorina’s feeding plan |
|---|---|---|
| Spring | New leaves and roots | Weekly, ¼ strength, balanced (e.g. 20-20-20) |
| Summer | Peak growth | Weekly, ¼ strength; flush monthly |
| Autumn | Spikes forming | Switch to a bloom formula (higher phosphorus) and feed slightly less often |
| Winter | Blooming and resting | Every 2–3 weeks, lightly; don’t overfeed |
| After blooming | Recovering | Minimal feeding; focus on water and light |
Two cautions: fertilizer can’t make up for poor light (“Fertilizer is sunshine you can pour, but sunshine is fertilizer you cannot replace.”), and brown leaf tips mean it’s time for a month off fertilizer and a good flush.
“Feed the orchid that is becoming. Not the orchid that has already bloomed.” — Nonna Do
Step 5: Care for the New Spike
Once a spike appears:
- Stake it early. When the spike is 5–7 inches long, insert a stake near (not through) the roots and attach the spike loosely with soft clips every few inches as it grows. “Never force the spike. Orchids resent harsh hands.”
- Don’t turn the plant once buds form. Buds orient toward the light, and rotating the pot can twist the flowers.
- Keep things steady. Buds may drop from drafts, sudden temperature swings, dry air, missed waterings, or ethylene gas from a nearby fruit bowl. “Buds fall when orchids feel unsafe.”
- Raise the humidity slightly with a pebble tray while buds swell.
Step 6: Welcome a Keiki
Sometimes, instead of flowers, a node on the spike grows a tiny plant with its own leaves and roots. This is a keiki, Hawaiian for “baby.” Leave it attached until it has three or four leaves and two or three roots about 2–3 inches long. Then:
- Cut the spike about an inch above and below the keiki with sterilized scissors.
- Dust the mother plant’s cut ends with a little cinnamon.
- Pot the baby in a small pot of fine bark or loosely packed sphagnum moss.
- Keep it in bright, indirect light with higher humidity, water gently, and start light feeding after about six weeks.
“A keiki must feel ready to stand on her own,” Mom says. With patience, it grows into a full-sized orchid and blooms in a year or two.
Troubleshooting: Still No Flowers?
- Dark leaves? Needs more light.
- Warm, steady nights all year? Needs that autumn cool-down.
- Brown leaf tips, crusty bark? Overfed. Flush, then rest from fertilizer.
- Wrinkled leaves? Check the roots, then see our watering myths guide.
- Old, mushy bark? Time to repot.
The American Orchid Society is another trusted place to troubleshoot a stubborn plant.
Nonna’s Takeaway
Reblooming is a conversation, not a trick. Give bright light, a cool autumn nudge and gentle feeding, then wait. In Italian they say pazienza, and in Croatian strpljenje. Mom just smiles and says the orchid knows its own time.
Keep growing with us: Dorina’s 10 Golden Rules · Orchid Types 101 · Nonna’s Orchid Corner

Mother, Nonna, orchid grower, cook, tailor and artisan — born in Belej on the island of Cres, Croatia. Written with love by her family, sharing the wisdom she gave us. Read her story →