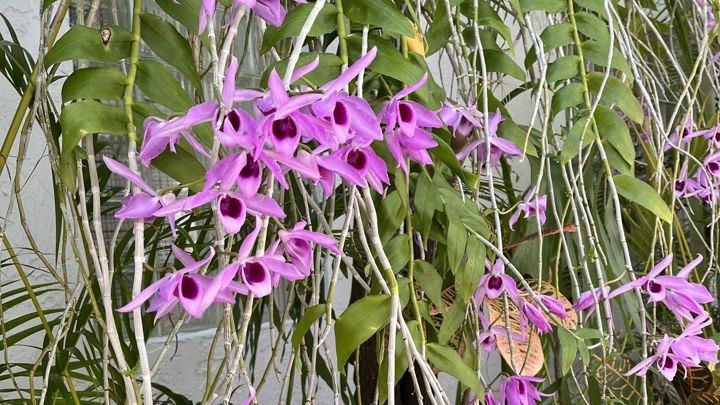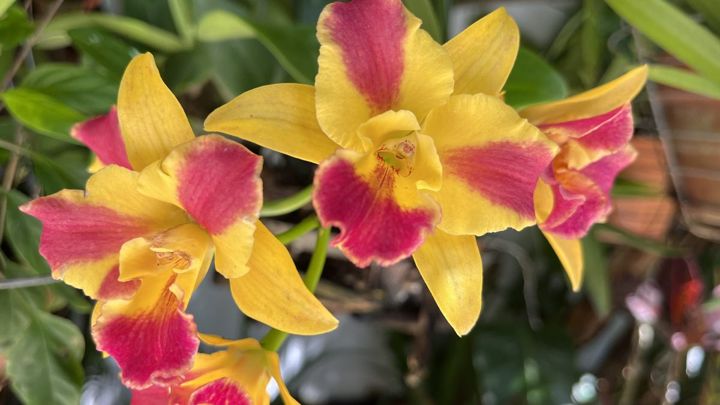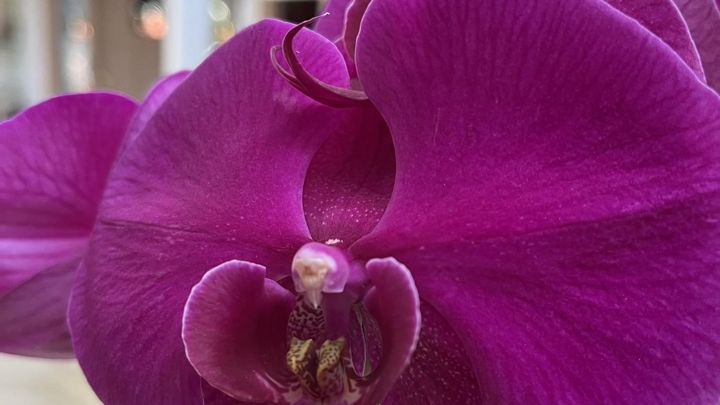
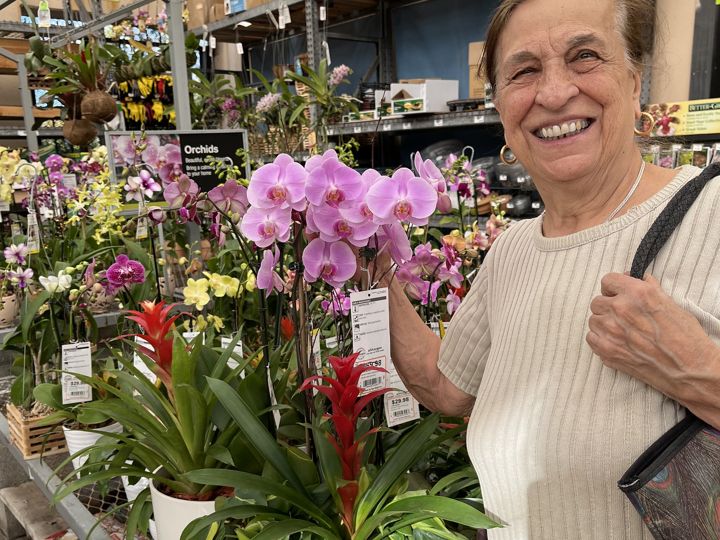
Mom calls repotting “the most intimate act of orchid care.” It’s the one moment you hold the heart of the plant, its roots, in your hands. Done well, repotting can revive a tired orchid, prevent rot and set it up for its best bloom yet. Done in a rush, it can set a plant back for months. This guide follows Chapter 9 of Dorina’s book, The Art of Orchids, and the way she has always worked at her potting table: gently, confidently, and with respect for the plant.
When to Repot
Orchids don’t grow in soil. They grow in chunky bark or moss that slowly breaks down into something like compost. Old, decomposing medium holds too much water and smothers the roots. Repot when:
- The bark has broken down: it’s crumbly, dark or soil-like, or smells sour
- The pot stays wet much longer than it used to
- Roots are rotting, or pests are living in the medium
- The plant has become top-heavy or is climbing out of its pot
- Flowering has finished
- New root tips or new shoots are appearing. This is the best time of all.
As a rule of thumb, most orchids need repotting every one to two years.
Never repot during full bloom. Disturbing the roots can make the flowers drop early.
“Repot when the plant is ready to grow, not when you are ready to repot.” — Nonna Do
The Professional Kit
Lay everything out before you start, the way Mom sets up a kitchen before making gnocchi:
- Sterilized scissors or pruning shears. Wipe the blades with rubbing alcohol between plants so viruses and disease can’t travel from one orchid to the next.
- A new pot with drainage holes. A clear plastic pot is best for Phalaenopsis so you can watch the roots.
- Fresh potting medium: bark, sphagnum moss or a mix (see the table below)
- Ground cinnamon, a traditional home remedy many growers dust on cut surfaces
- A chopstick for settling the bark around the roots
- A bucket or bowl for soaking the bark
- A stake and soft clips if the plant needs support
- Gloves if you like, and plenty of newspaper
Nonna’s Tip: “Always soak dry bark for at least two hours before use. Dry bark steals moisture from roots.” Mom often soaks it overnight.
Choosing the Right Medium
| Orchid type | Best medium | Watering style after potting | Notes |
|---|---|---|---|
| Phalaenopsis | Medium bark, or bark + some sphagnum | Dry slightly between waterings | Keep the crown above the medium |
| Cattleya | Coarse bark + charcoal or perlite | Dry almost completely | Repot as a new growth begins roots |
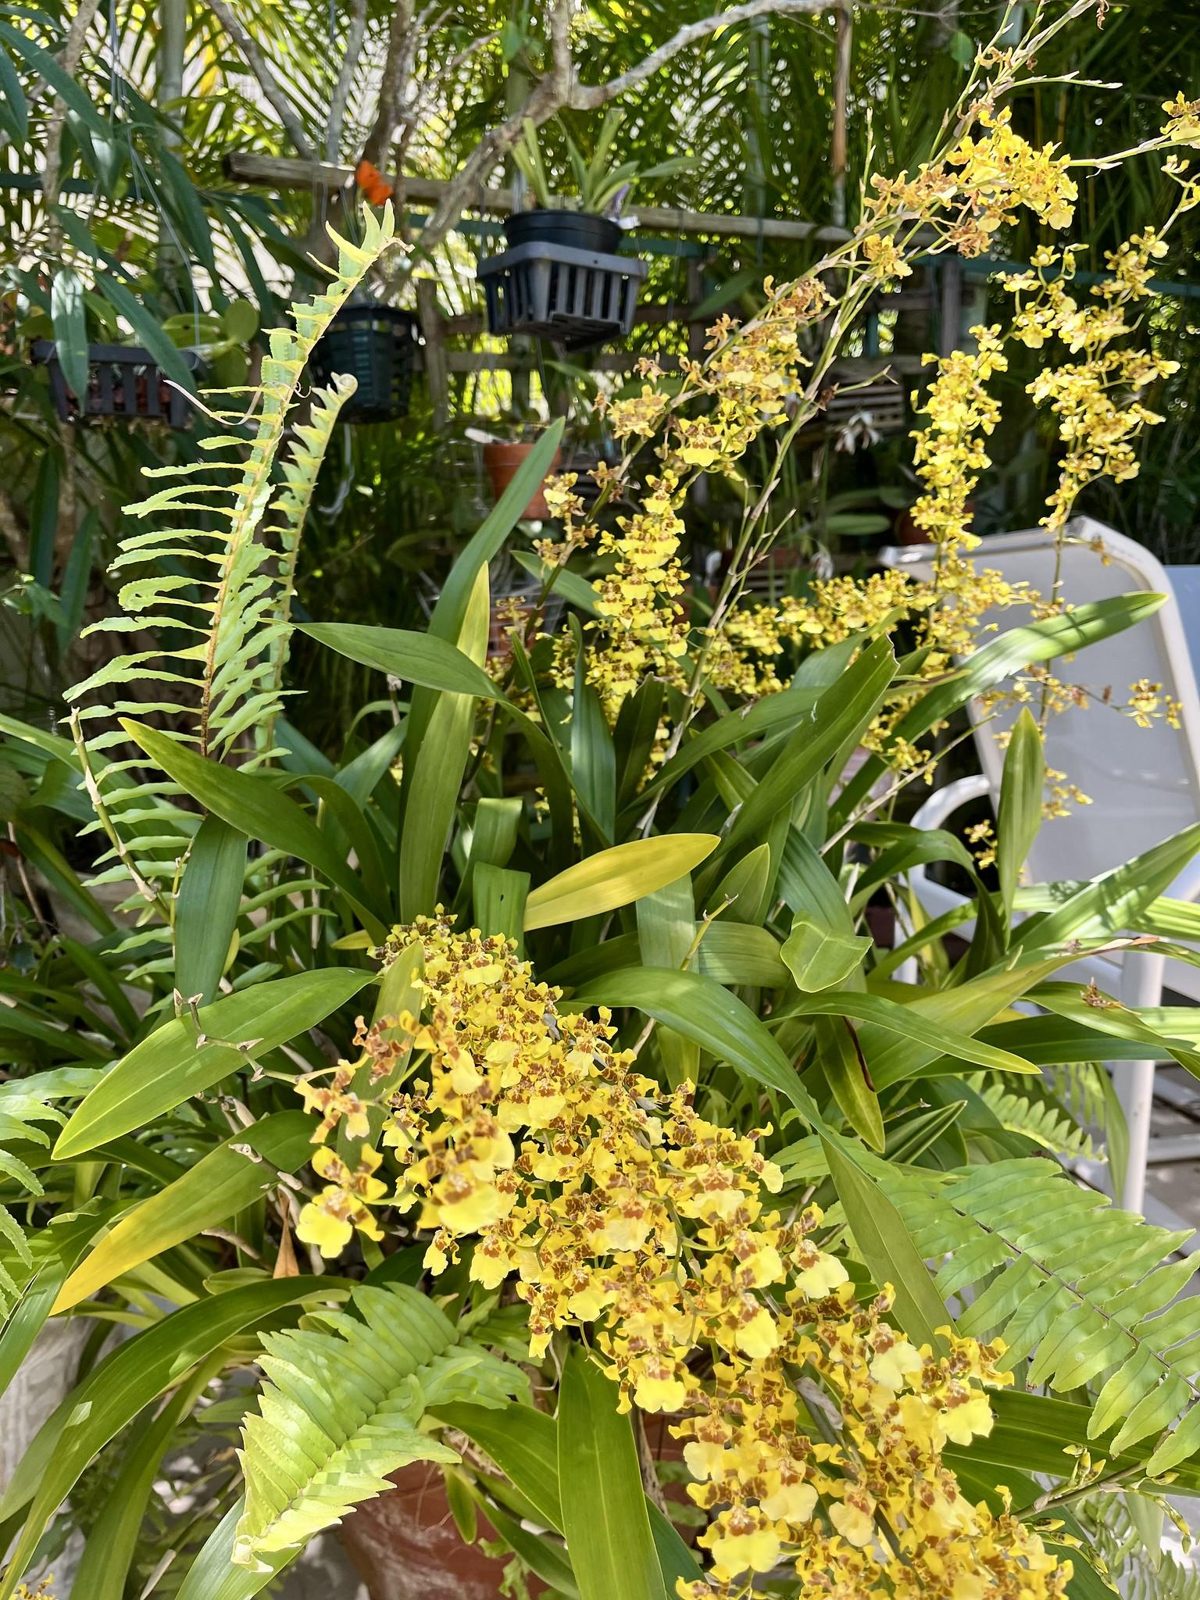
| Oncidium & Brassia | Fine to medium bark, or bark + moss | Keep evenly moist | Repot when new pseudobulbs start |
| Dendrobium | Medium bark in a small, snug pot; mounts or baskets for trailing types | Generous in growth | Hates oversized pots |
| Paphiopedilum | Fine bark mix, often with perlite | Evenly moist | Repot yearly |
| Vanda | Often bare-root in a slatted basket | Daily soak or drench | Needs high humidity |
| Young or recovering plants | Sphagnum moss, loosely packed | Water less often; moss holds moisture | Good in dry homes |
Adding charcoal or perlite to any bark mix helps it drain well and stay fresh.
Step by Step: The Dorina Method
Step 1: Ease the Orchid Out
Support the plant at the base of its leaves and gently squeeze the sides of the pot. If roots are stuck to the walls, massage the pot, tap the bottom or run lukewarm water over it to soften them. Never yank. Orchid roots bruise easily. In Mom’s words, the plant should slide out “like a guest leaving a comfortable chair.”
Step 2: Clean and Inspect the Roots
Spread the roots out gently. Repotting doubles as a health check.
- Healthy: firm, plump, green or silvery, with bright green growing tips
- Dead: brown or black, mushy or hollow, papery, or sour-smelling
Snip away dead roots with your sterilized scissors and dust the larger cuts lightly with cinnamon. Dorina’s rule: “If it snaps like a carrot, it’s healthy. If it smears like a banana, it’s gone.”
Don’t worry about the silvery aerial roots growing outside the pot. They’re healthy and can be left where they are.
Step 3: Clear Out the Old Medium
Tease out every bit of old bark and moss caught in the roots. It can hold fungus, fertilizer salts and pests. Rinse with lukewarm water if it helps. Take your time.
Step 4: Prepare the Pot
Choose a pot only one size larger than the last one, or even the same size if you trimmed away a lot of roots. Orchids like to be snug. An oversized pot holds extra wet medium that the roots can’t reach, and that leads to rot. Drainage holes are essential. “Airflow is life.”
Step 5: Position the Plant
Hold the orchid so the base of the leaves sits just about level with the rim, and let the roots fall naturally into the pot.
- Keep the crown above the medium.
- Don’t bury fresh green root tips.
- For sympodial orchids like Cattleya and Oncidium, place the oldest pseudobulb against the side of the pot so the new growth has room to move forward.
Step 6: Add the Medium Loosely
Pour in the soaked bark and use your fingers or a chopstick to work it between the roots. Tap the pot on the table to settle it. Don’t pack it down, because roots need air pockets. For moss, Mom’s test is: “If moss feels like a sponge, it’s too tight. If it feels like a cloud, it’s perfect.” Add a stake if the plant wobbles. A firmly anchored orchid roots in faster.
Step 7: Water Lightly, Then Rest
Give a gentle watering to settle the medium, then place the orchid in softer, shaded light for 3–5 days while it recovers.
Aftercare: The Next Four to Six Weeks
- Bright, indirect light (no direct sun)
- No fertilizer. Freshly trimmed roots are tender.
- Let the medium nearly dry before watering again
- Mist lightly around the plant if your home is dry, but only in the morning
- Watch for new root tips, the orchid’s way of saying thank you
Signs of success: new roots, a new leaf, the plant standing firm in its pot. Signs of trouble: wrinkled leaves (root loss or too little water), soggy medium (too much water) or a soft crown (rot). Our watering myths guide will help you fine-tune your routine.
Once new roots are growing well, go back to feeding “weakly, weekly.” For more on the whole bloom cycle, see How to Make Your Orchids Rebloom. The American Orchid Society also has helpful repotting resources.
Nonna’s Takeaway
Repotting isn’t a chore. It’s renewal. You clear away what no longer lives, give the roots fresh air and room, and let the plant begin again. In Croatian, korijen means root. In Italian it’s radice. Mom’s philosophy is simple: “The orchid trusts you with its roots. Honor that trust with patience and kindness.”
Keep growing with us: Dorina’s 10 Golden Rules · Orchid Types 101 · Nonna’s Orchid Corner

Mother, Nonna, orchid grower, cook, tailor and artisan — born in Belej on the island of Cres, Croatia. Written with love by her family, sharing the wisdom she gave us. Read her story →