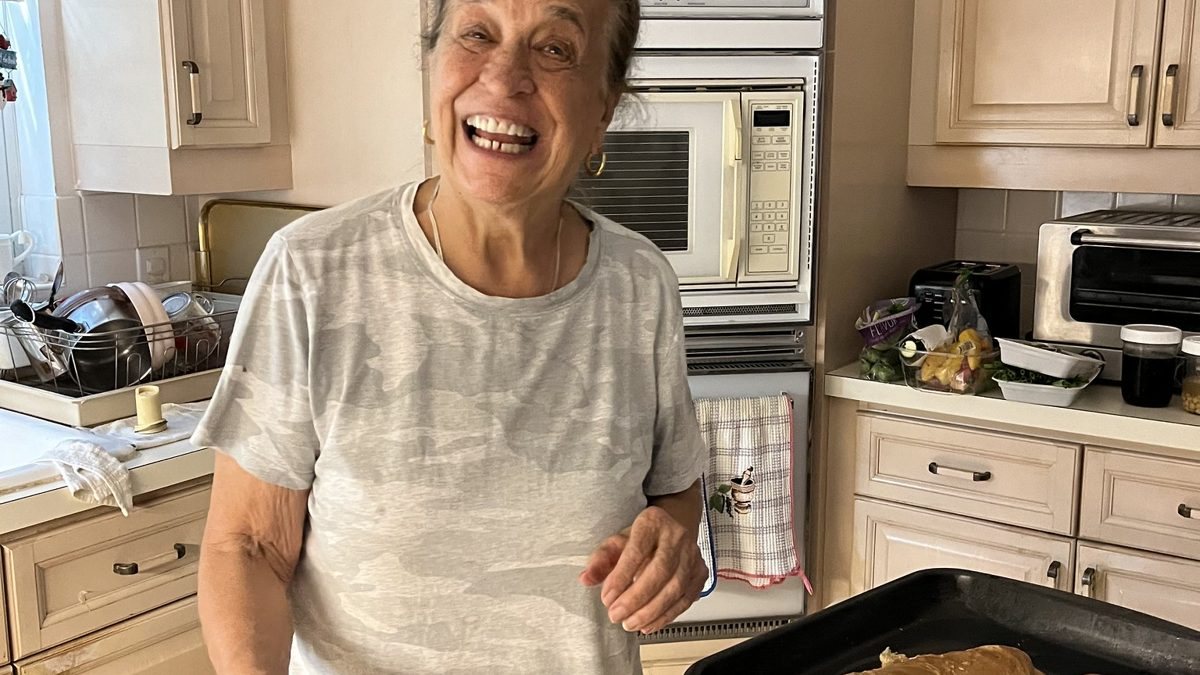
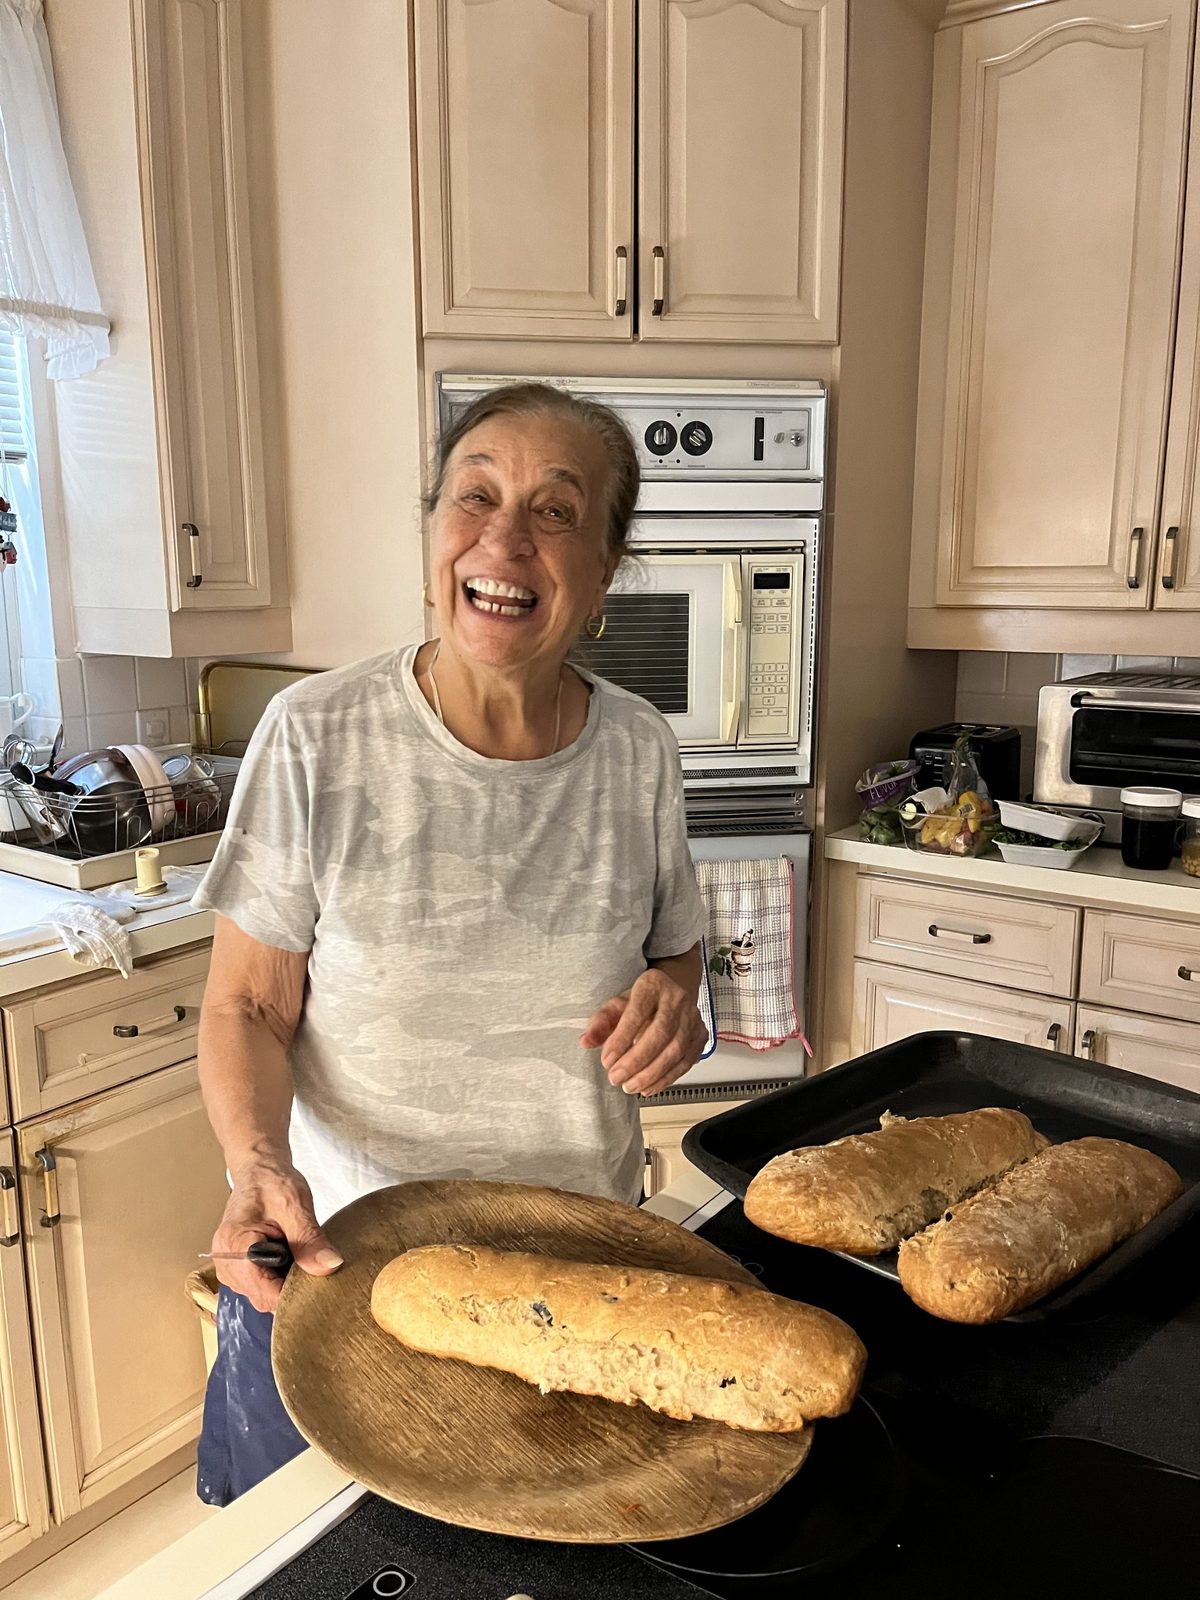
There’s a photo in our family collection that makes everyone smile the moment they see it: Nonna Do, laughing out loud, holding her olive loaves on a wooden board, still warm from the oven. It captures exactly how she feels about bread. Baking isn’t a chore to her. It’s a joy, and the pride of pulling a golden, crackling loaf out of the oven is something she wants everyone to share. This is her pane alle olive (olive bread): a simple, rustic dough, studded with salty olives, baked into long loaves you can slice at the table. It takes very little work and a lot of patience, which is the Nonna way.
Ingredients
Makes 2 long loaves (about 14 inches each)
- 3 cups bread flour (about 400 g), plus extra for dusting
- 1½ cups warm water (about 350 g), around 95–100°F
- 2 tsp fine sea salt
- ½ tsp instant or active dry yeast (for the overnight method)
- 1 cup pitted olives, Kalamata, green or a mix, roughly chopped
- Olive oil, for the bowl and (optional) brushing the crust
- Semolina or cornmeal, for the peel
Nonna’s Tip: Squeeze each olive as you chop to be sure no pits are hiding, then pat them dry on a towel. Wet olives make a sticky dough, and a stray pit can break a tooth.
Method
- Mix. In a large bowl, stir together the flour, salt and yeast. Add the warm water and mix with a wooden spoon or your hand until no dry flour remains. The dough will be shaggy and sticky. That’s right.
- Rest. Cover and let it sit 20 minutes. This rest (bakers call it an autolyse) lets the flour absorb the water and makes the dough easier to handle.
- Fold in the olives. Scatter the olives over the dough. With a wet hand, grab one side of the dough, stretch it up and fold it over the middle. Turn the bowl and repeat 8–10 times until the olives are evenly tucked in.
- Stretch and fold. Over the next 1½ hours, give the dough 3 more sets of folds, about 30 minutes apart. Each set is just 4 folds, one from each side. The dough will become smoother, stronger and more elastic, with no heavy kneading needed.
- Let it rise. Lightly oil a clean bowl, add the dough, cover, and leave at cool room temperature for 8–12 hours or overnight, until doubled, bubbly and domed.
- Divide and pre-shape. Turn the dough onto a floured board. Cut in half. Gently fold each piece into a loose round, seam side down, and rest 20–30 minutes, covered.
- Shape long loaves. Pat each round into a rectangle about 8 × 6 inches. Fold the top third down to the middle and press. Fold the bottom third up and press. Then fold the whole piece in half lengthwise and seal the seam with the heel of your hand. Roll gently under your palms, working from the center out, to about 14 inches long.
- Final proof. Dust a wooden peel generously with semolina or cornmeal. Lay the loaves seam side down, a few inches apart, and cover with a towel. Proof 45–60 minutes, until puffy. A gently pressed fingertip should leave a dent that springs back slowly.
- Preheat. While the loaves proof, set a baking stone, baking steel or an upside-down heavy sheet pan on the middle rack, and an empty metal pan on the lowest rack. Preheat to 450°F (230°C) for at least 45 minutes.
- Score and steam. Cut 3–4 shallow diagonal slashes on each loaf with a sharp knife or razor. Slide the loaves off the peel onto the hot stone with one confident jerk. Carefully pour 1 cup of hot water into the metal pan below and close the door quickly.
- Bake 25–30 minutes, until deep golden brown. The loaves should sound hollow when tapped on the bottom (about 205–210°F inside, if you have a thermometer). Brush with a little olive oil in the last 5 minutes for a softer, shiny crust, if you like.
- Cool on a rack at least 45 minutes before slicing. The inside is still finishing as it cools.
Nonna’s Original: The Dutch Oven Method
Nonna’s cookbook bakes this same dough as a single round loaf. Shape it into a ball, rest 30 minutes, then bake in a preheated Dutch oven at 450°F for 30 minutes covered and 15 minutes uncovered. It’s the easiest way to get a great crust with no peel and no steam, and a perfect place to start.
Kneading and Proofing Timeline
This dough is wet, so rather than kneading on the counter, we use gentle folds in the bowl. They build the same strength with far less mess. If you’d prefer a same-day loaf, increase the yeast.
| Step | Overnight method (½ tsp yeast) | Same-day method (1½ tsp yeast) |
|---|---|---|
| Mix and rest | 20 min | 20 min |
| Folds (4 sets) | 1½ hours | 1½ hours |
| Bulk rise | 8–12 hours, cool room | 1–2 hours, warm spot |
| Pre-shape rest | 20–30 min | 20–30 min |
| Final proof | 45–60 min | 30–45 min |
| Bake | 25–30 min | 25–30 min |
The overnight method gives deeper flavor and a more open crumb. A warm kitchen speeds everything up, and a cool one slows it down. Watch the dough, not the clock.
Working with a Wooden Peel
A wooden peel is a baker’s best friend for long loaves. Here’s how to make it slide:
- Dust generously. Semolina or cornmeal acts like tiny ball bearings.
- Give it a test shake before scoring. If a loaf sticks, lift the edge and toss a little more semolina underneath.
- Load at an angle. Set the tip of the peel at the back of the stone and pull the peel out quickly toward you.
- No peel? Proof the loaves on parchment on the back of a sheet pan and slide the parchment right onto the stone.
Storing and Reviving Your Loaves
- Day 1–2: Store cut side down on a wooden board, or wrapped in a clean cloth or paper bag. Plastic softens the crust.
- Longer: Slice, wrap well and freeze for up to 3 months. Toast slices straight from the freezer.
- Revive: Splash the crust with a little water and warm the loaf in a 375°F oven for 8–10 minutes. It comes out crackling again.
- Day-old bread: Perfect for bruschetta, crostini, or dipped into soup and sauce.
Troubleshooting
| Problem | Likely cause | The fix |
|---|---|---|
| Dough too slack to shape | Very wet flour or warm kitchen | Hold back 2 tbsp water next time; add an extra set of folds |
| Loaves spread flat | Over-proofed | Shorten the final proof; bake when the dent springs back slowly |
| Pale, soft crust | Oven not hot enough or no steam | Preheat longer; add the water to the pan |
| Dense crumb | Under-proofed | Give the bulk rise more time |
“Don’t overwork the dough — rustic is beautiful.” — Nonna Do
Nonna’s Takeaway
That photo of Mom laughing with her loaves says everything: good bread is meant to be shared, and the fun is in the making. Your loaves don’t need to be perfect. A lopsided, crackly loaf full of olives, torn at the table with people you love, is exactly right. For even more baking guidance, King Arthur Baking is a wonderful resource.
More from Nonna’s oven: Fritule, Kroštule & Holiday Sweets, family photos, and Nonna’s recipe collection.
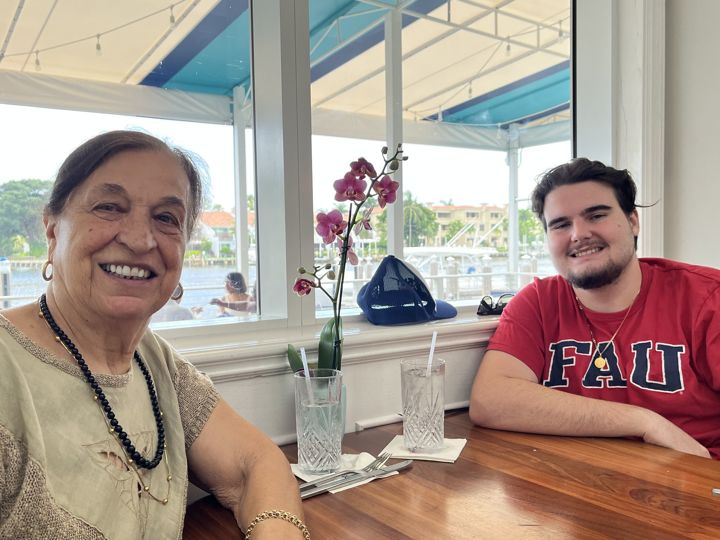
Mother, Nonna, orchid grower, cook, tailor and artisan — born in Belej on the island of Cres, Croatia. Written with love by her family, sharing the wisdom she gave us. Read her story →